It’s time for another Tech Tips with Travis!
This installment is all about creating some FUN FONTS … whether it be in your TpT products, your class newsletters, parent information sheets, campus information, or just in your regular ole’ PowerPoint slides 😉
While we all love good *cute* font and pairing fonts together to make something look more appealing… this post will be all about FOUR simple tricks to do WITH those cute little fonts you already use!
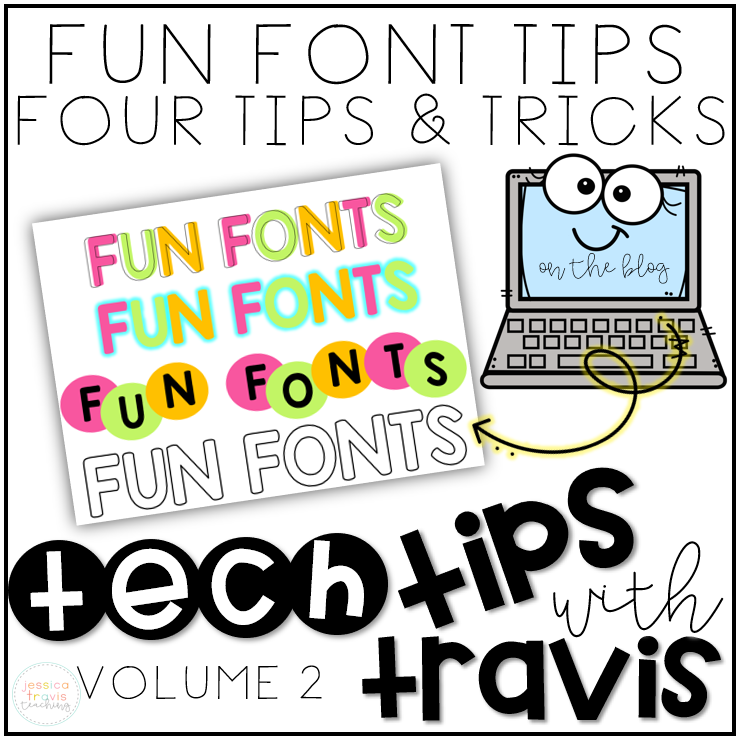
** PLEASE NOTE: I have included a video at the end of this post that shows all four tips in action! **

THE LAYERING EFFECT
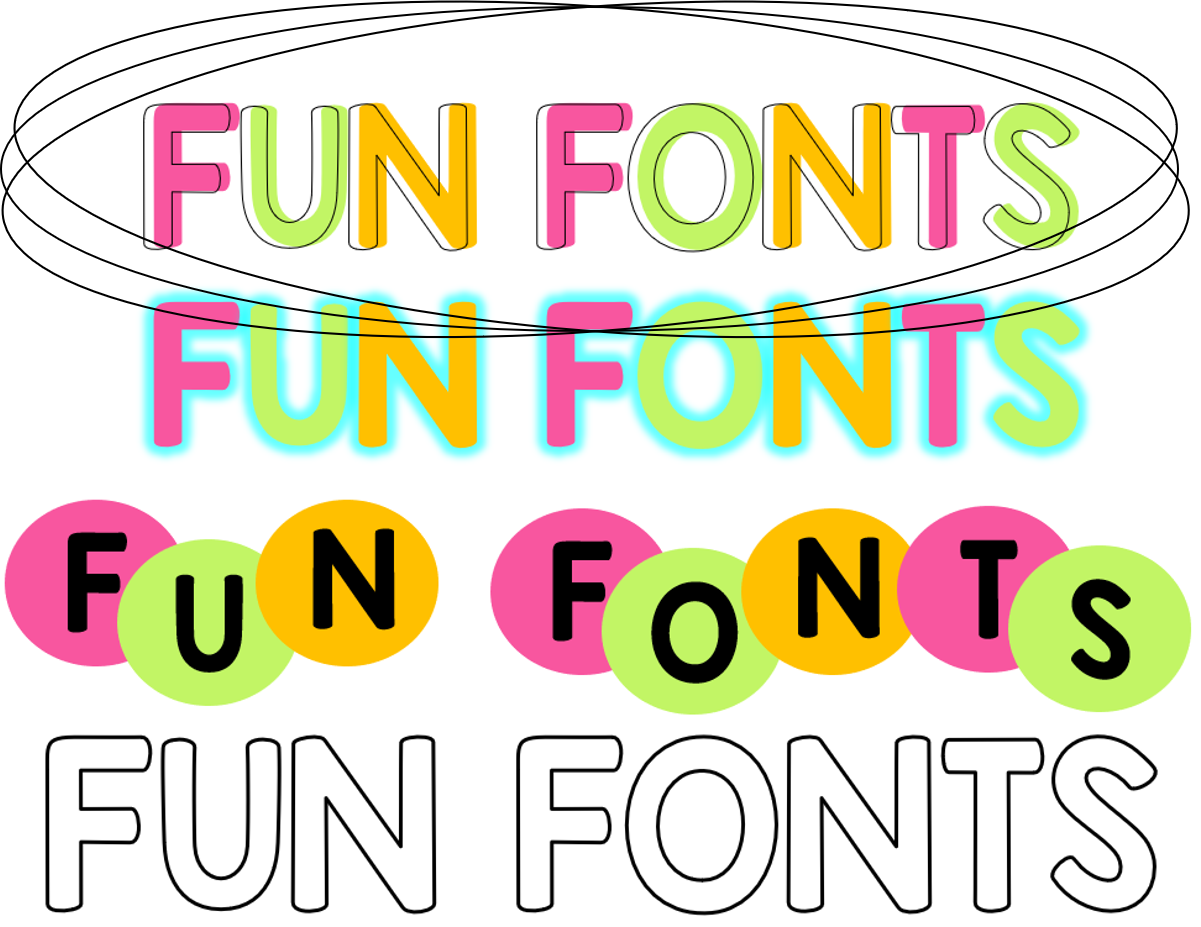
This fun font has a layering effect and really makes the specific text stand out!
If you know me and my PowerPoint… I do NOT like text boxes! HA! So…. I enter a “shape” to put all of my text in!
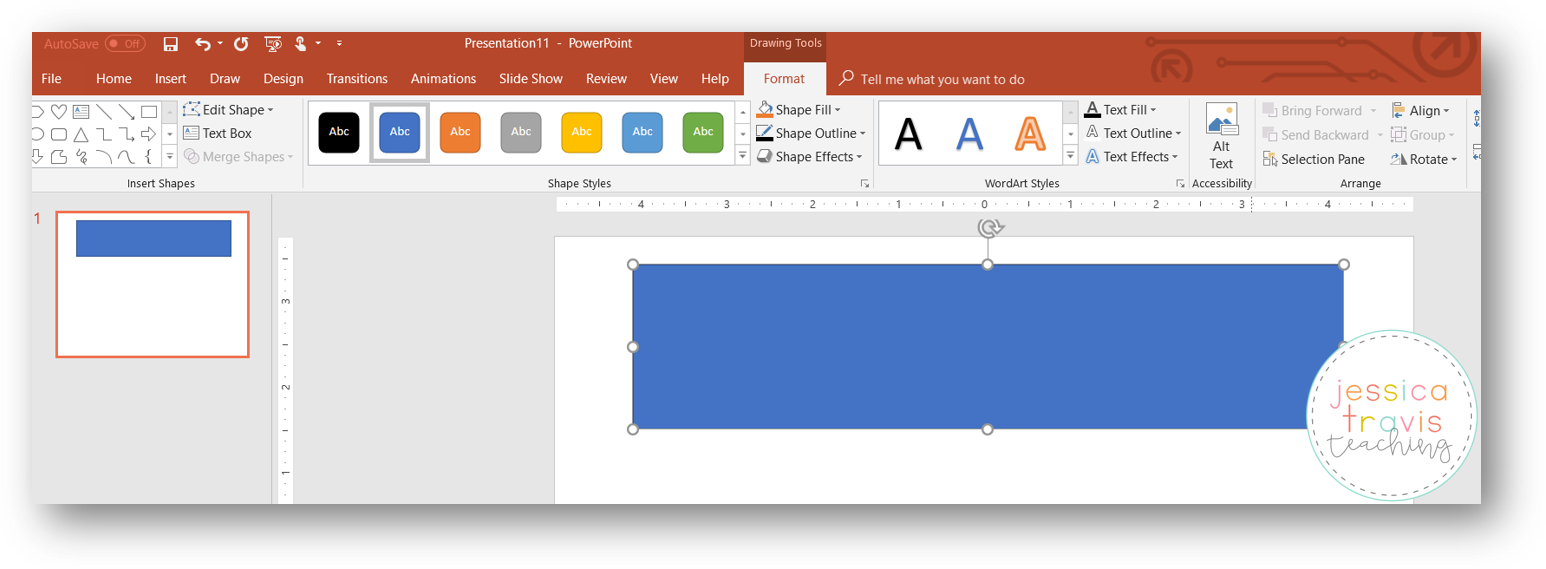
Simply “right click”…. “edit text”. You can now type ANY text you wish into the box. Go ahead and change the font and font color while you’re at it! 😉
When you make the font into your selected font and color…. “right click” again…. and click “FORMAT SHAPE”. It’s time to get rid of that blue box! – Simply click on “NO FILL” and “NO LINE”.
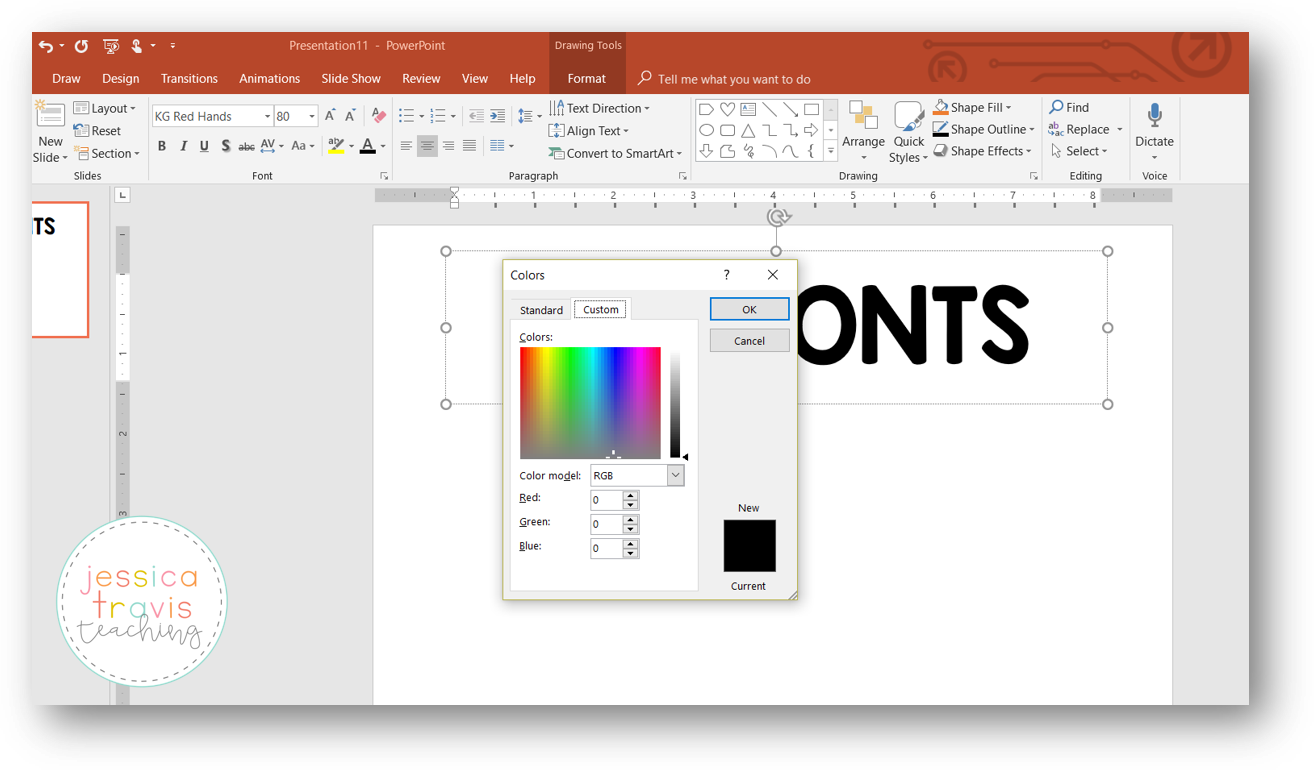
To get this “LAYERING EFFECT”… COPY and PASTE your text box.
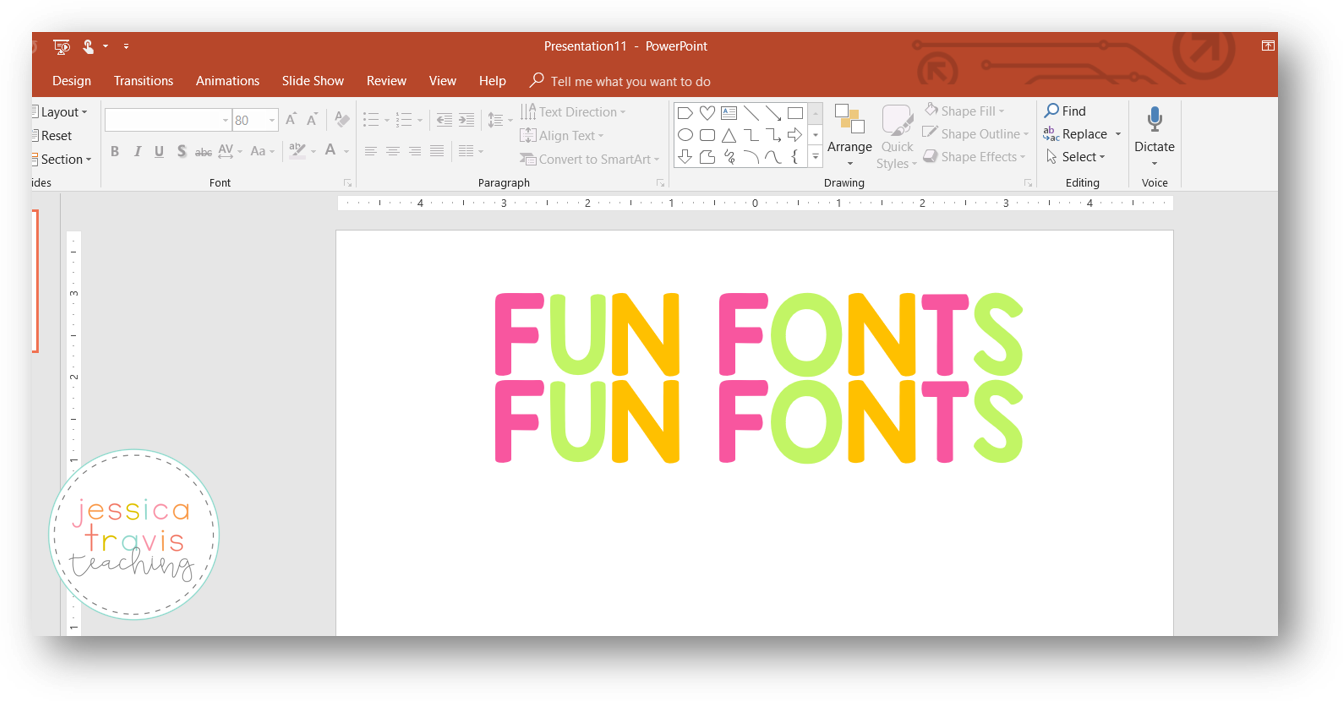
Now you have 2 of the exact same thing! NEXT – highlight ONE of the choices (entire line of text). Click on “FORMAT” at the top of your screen. You will have choices that appear such as “Text Fill” and “Text Outline”. On the text FILL … click on “NO FILL”. For the outline.. “click on BLACK”
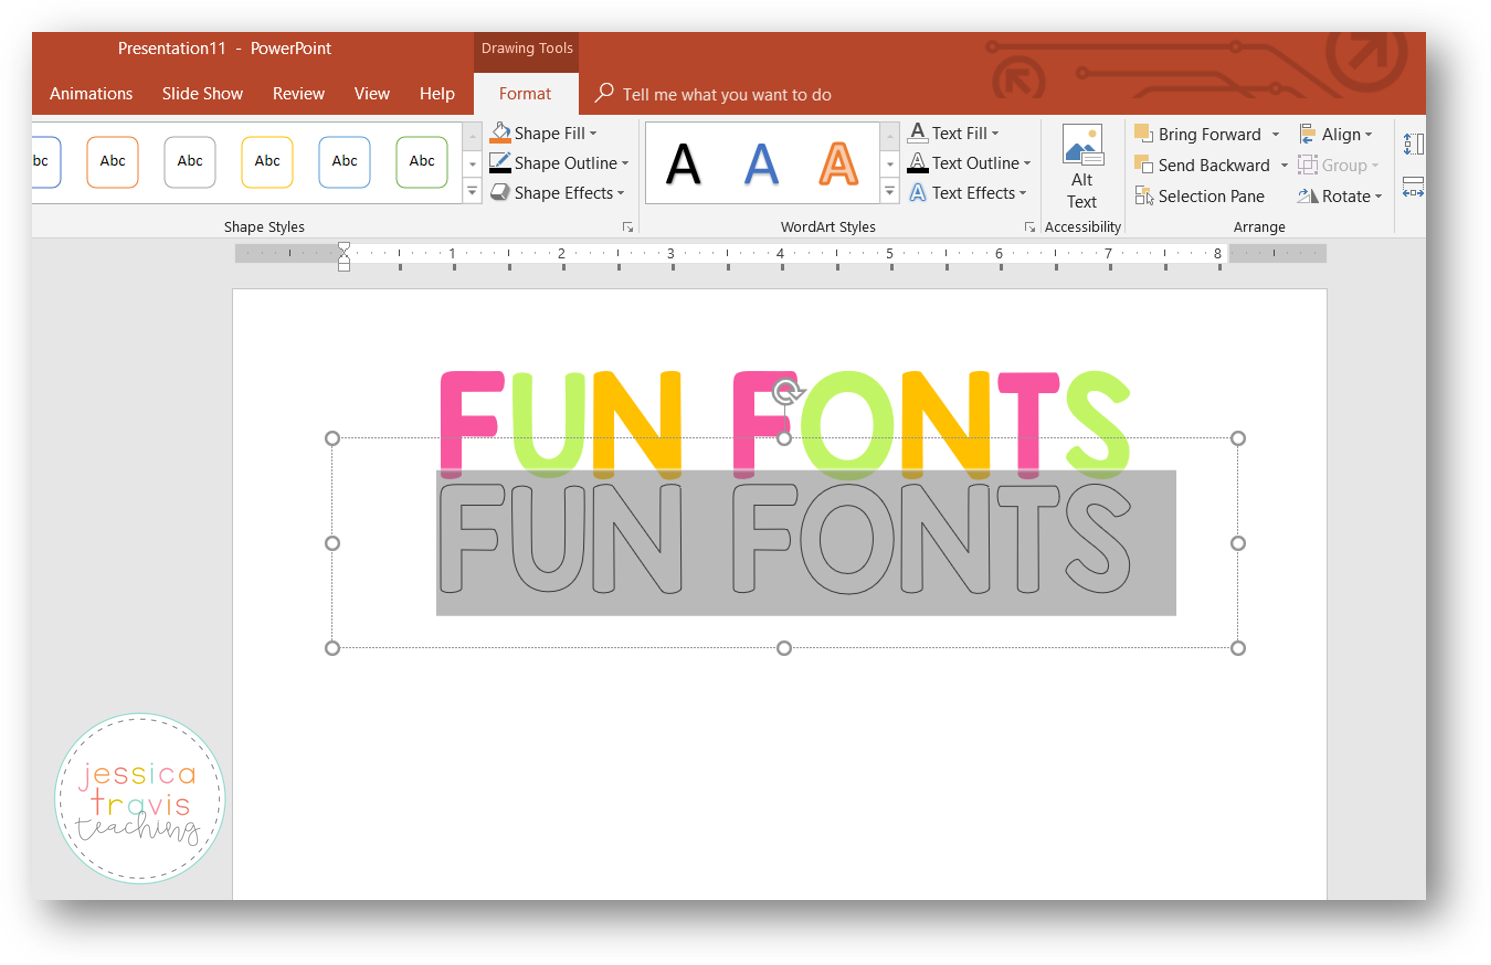
Your screen should look something like the one pictured above.
Now… simply move the outlined text ON TOP of the colored text. You can off-set it a bit to created the layered off-set look!

THE GLOWING FONT
This tip is a pretty quick and simple one!
Once you have a text/shape box created with your font choice and color choice…. you will simply highlight the text. Click on “FORMAT” At the top of your screen.
There will be an option of “TEXT EFFECTS”. Simply click it…. and select “GLOW”.
There will be a few select colors available…. but click on “MORE COLORS” for the entire choice selection.
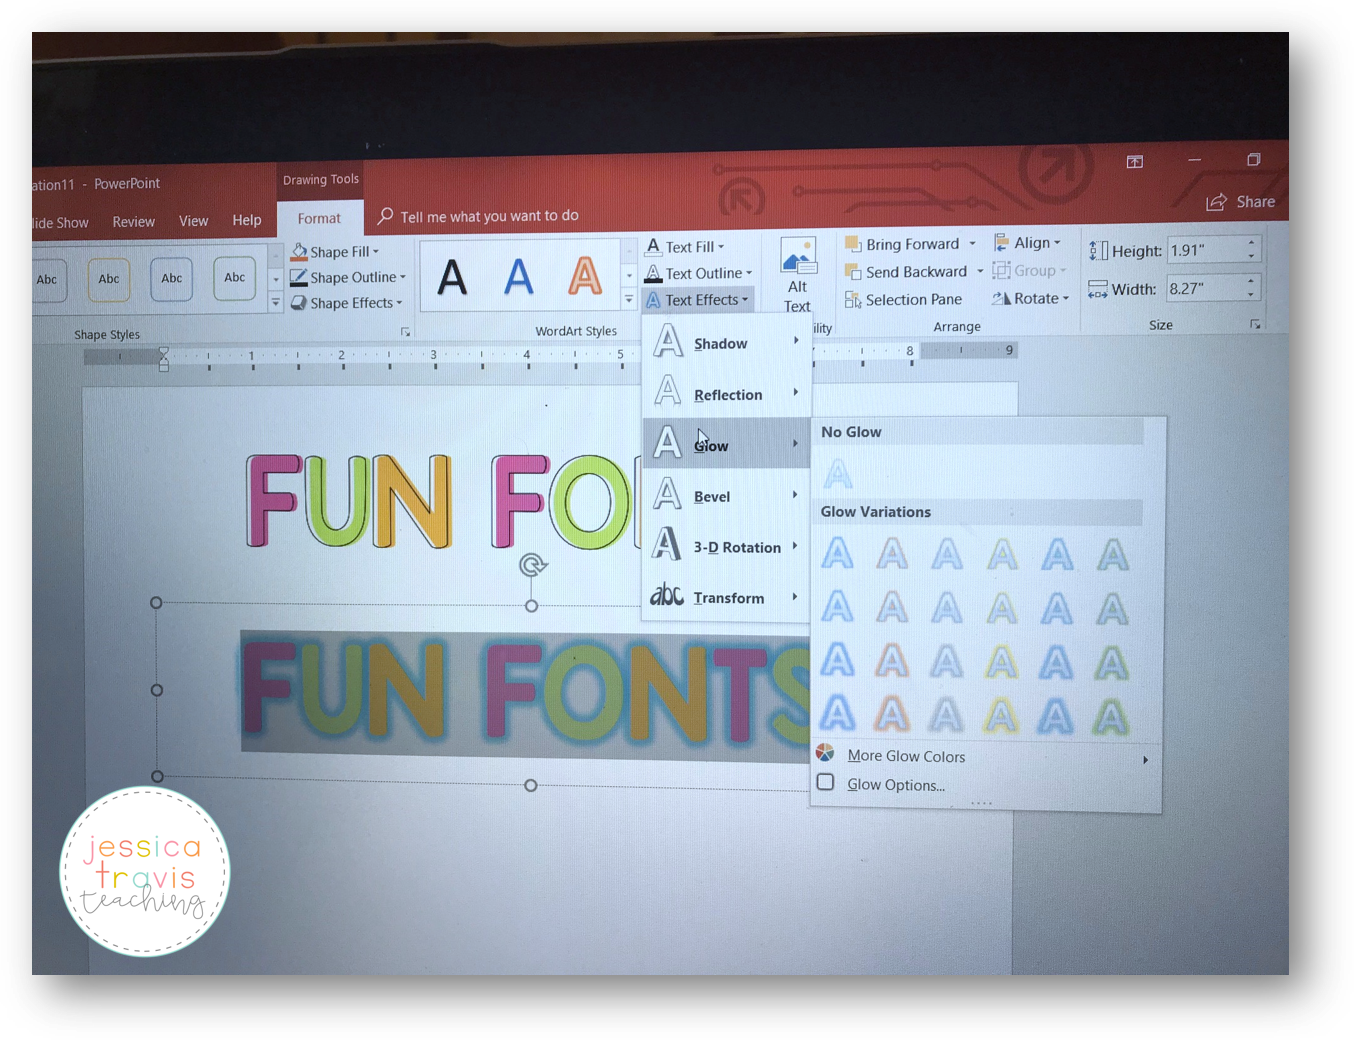
After selecting your choice of GLOW…. click apply and you are DONE!

SHAPE FONT FUN!
This fun font tip may take a few extra minutes to create…. but it’s one of my favorites!
I am going to use circles for this particular example… however you can insert ANY of the provided shapes that are included under the “insert shape” tab at the top!
Once I insert the circle… I am going to “right click” and select “format shape”. I want to fill the shape with my color choice and NO LINE.
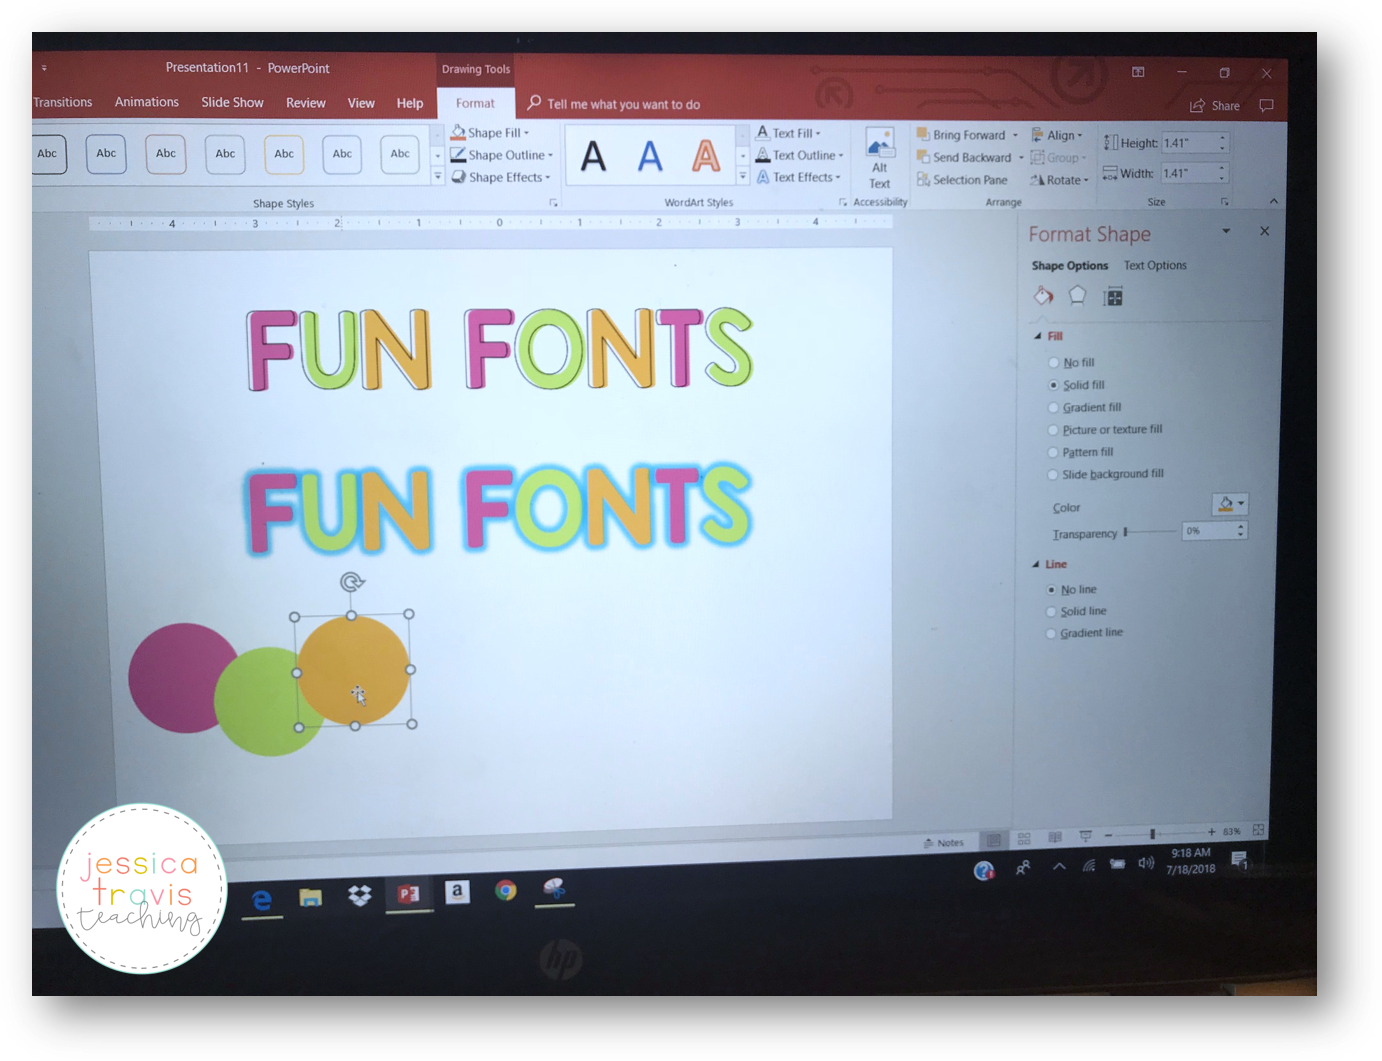
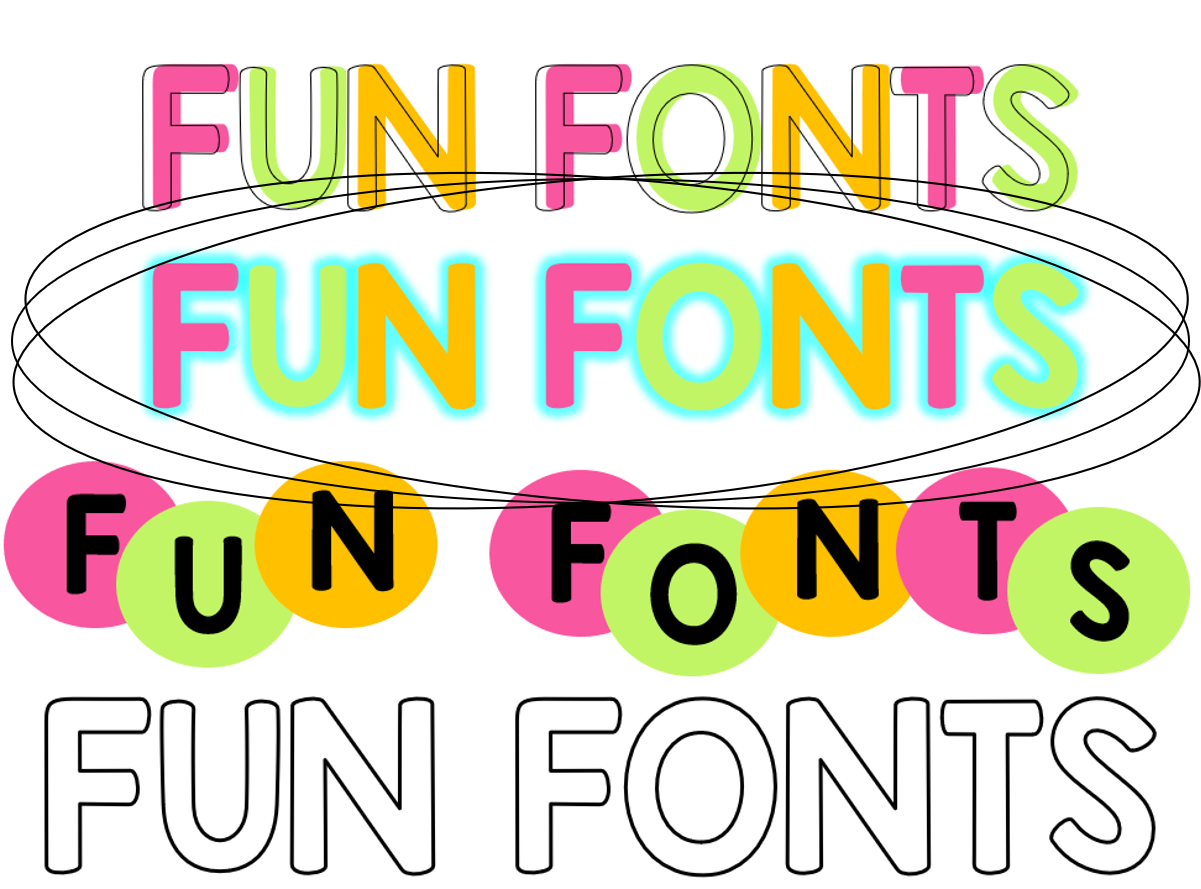
You can see the circles in the above picture. I simply just hit COPY and PASTE and re-filled them with different colors.
To put the text inside… DO NOT JUST RIGHT CLICK AND EDIT TEXT. When you do this in a circle, it limits your space for the text to spread. I always insert another brand new shape box and edit text on top of the circle. This will allow FULL use of the shape with your text!
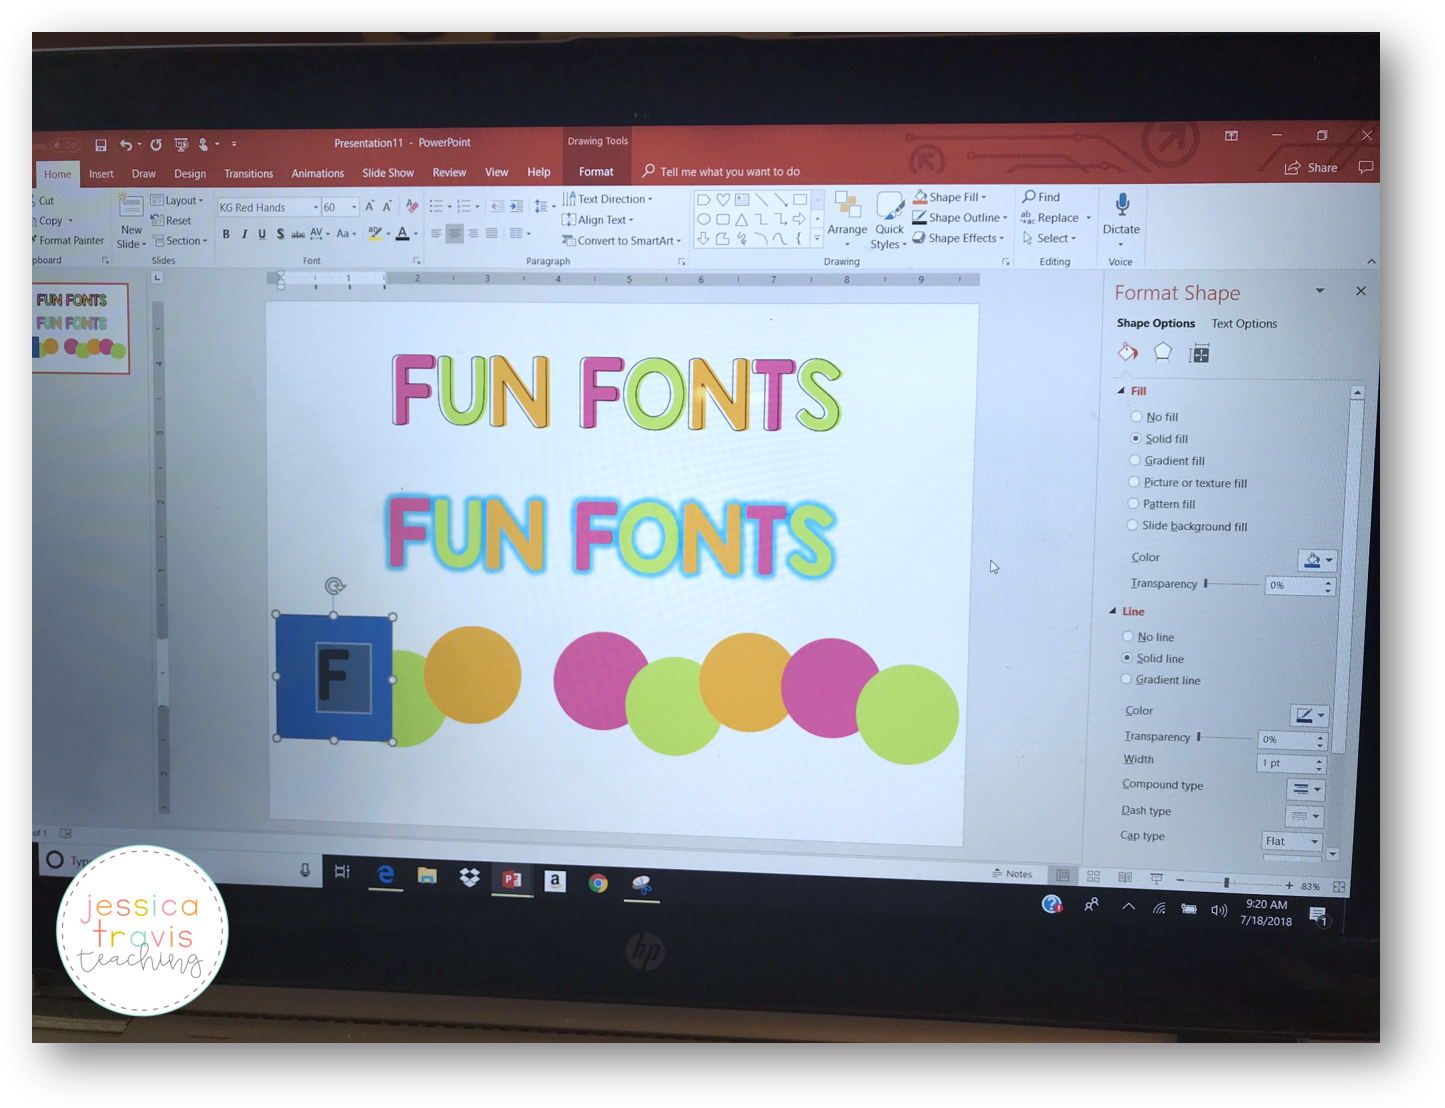
After I put all of the necessary circles on the slide… and inserted my new shape/text box on top of the circle, I “right clicked” and selected “format shape” to choose NO FILL and NO LINE on the new text/shape box.
I simply hit “COPY” and “PASTE” to fill all of the circles with the text and finished like this:
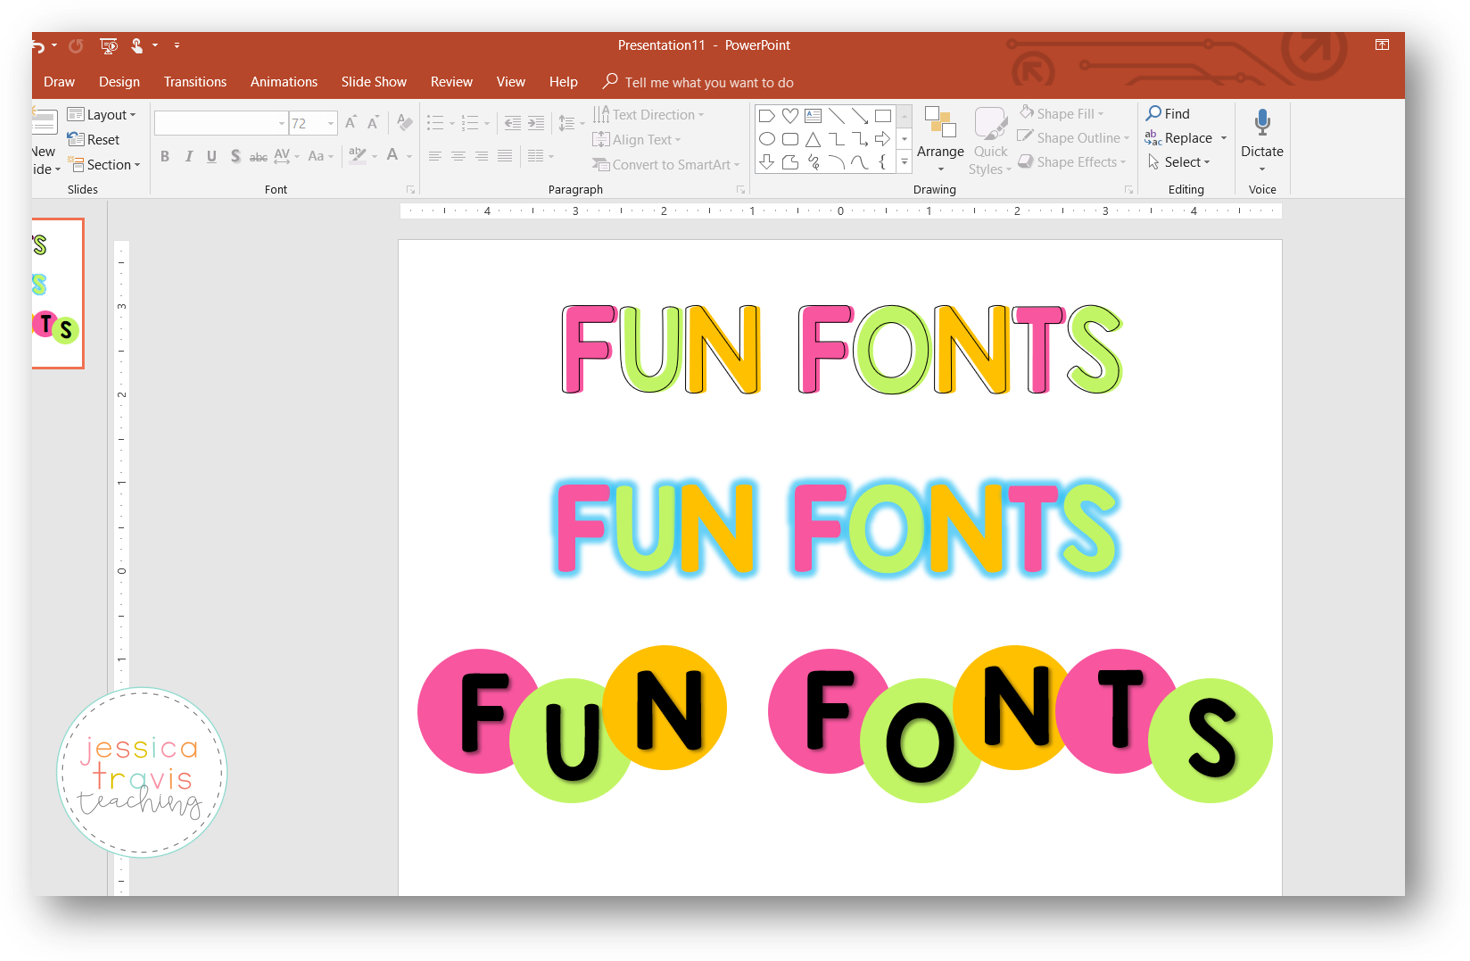
The great thing about creating the fun font shapes like above… you can make the shape ANY color… and your font selection can be your favorite as well!
Last but not least….

THE OUTLINE FONT
This font is fun for a variety of reasons! I tend to use this in my classroom during stations or centers…. because students can easily trace the font, fill in the font with a material (play-doh, pipe cleaner, mini-erasers, etc…)
This is perfect to use with student names at the beginning of the year, sight words or spelling words, alphabet letters, and more!
For this font, you will just create a text/shape box as you have been doing….. when you are ready to outline (you have right clicked and formatted the shape with no fill and no line)…. you will highlight the text.
Go back up to “FORMAT” at the top of your screen.
Click on “TEXT FILL” – NO FILL
Click on “TEXT OUTLINE” – BLACK.
And you are done!
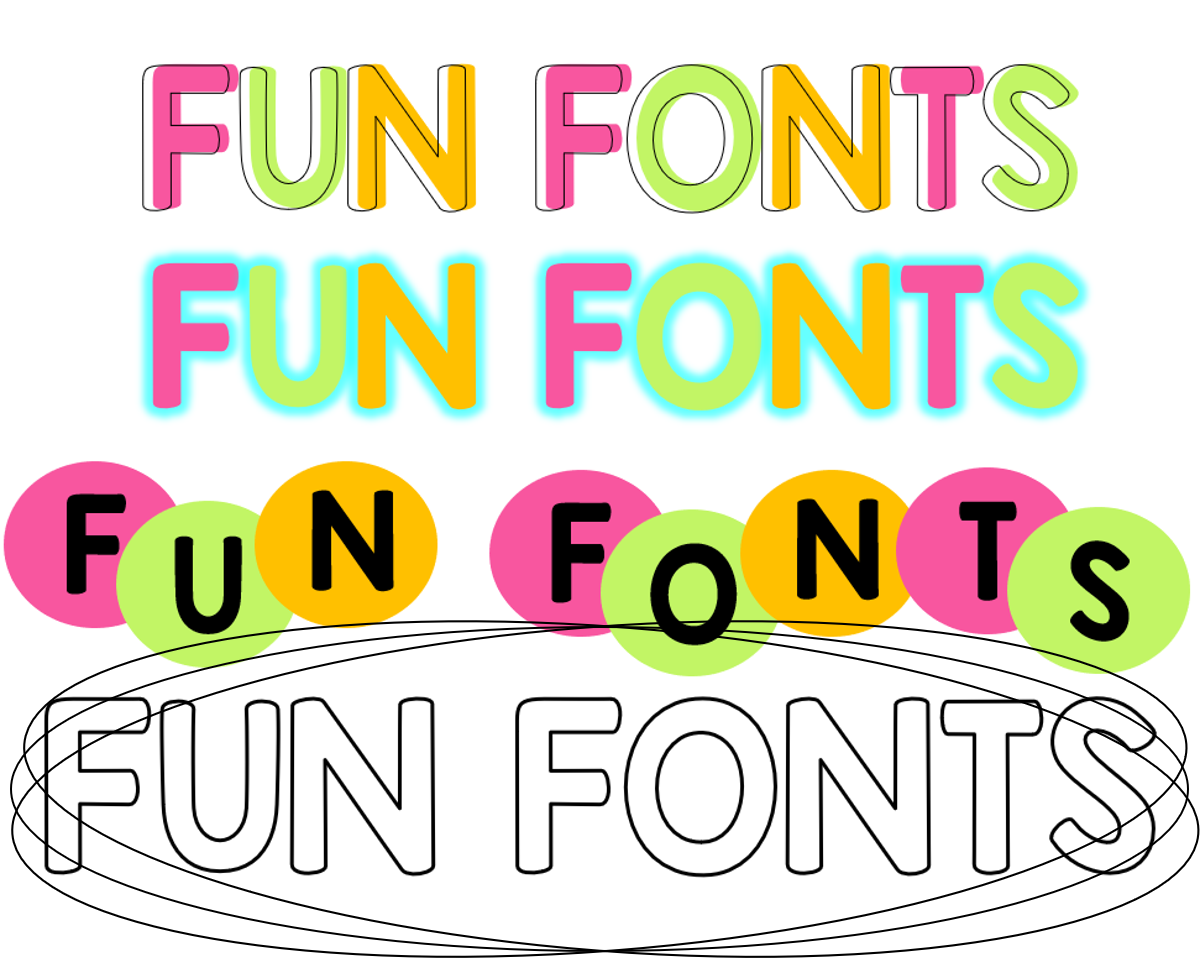
SO…. there you have it! FOUR simple and FUN fonts you can now add to your products and slides!
Below you will find a video that will show and demonstrate the four fonts above being put into the slides!
Let me know if you have any questions 🙂


What is the font you use to sign your signature? Where can i get it?
It is a font by Perfect Blend fonts… you can grab them on TpT!
This was great! Is there any way to put the created font into like a wordpress blog?
Thank you, thank you, thank you! I learned something new and used it! I used the glow feature since our theme is get your glow on! Worked like a charm!!